Managing WiFi Connectivity
WiFi Authentication
The WiFi Authentication profile configures networks for devices to join. To create a WiFi Authentication profile, go to Management > WiFi Authentication. Name the profile, enter the network SSID, choose the Security Type, and enter the password to join the network. Assign the profile to users/devices and click Save.
It's important the Security type and password are correct in the profile so that the device can successfully join the network.
MAC Address Randomization (iOS/iPadOS)
Starting with iOS and iPadOS 14, devices use a unique MAC address, or network address, when connecting to each network. This is a security and privacy enhancement to prevent network administrators from tracking devices, especially in the public sphere. In a school or district, this enhancement may conflict with network protocol that filters devices based on their MAC address. If your environment is impacted, please turn off MAC Address Randomization by checking the box in the profile.
When disabling MAC Address Randomization, it is on a per-SSID basis and will result in a privacy warning being displayed in the Settings app indicating the network has reduced privacy.
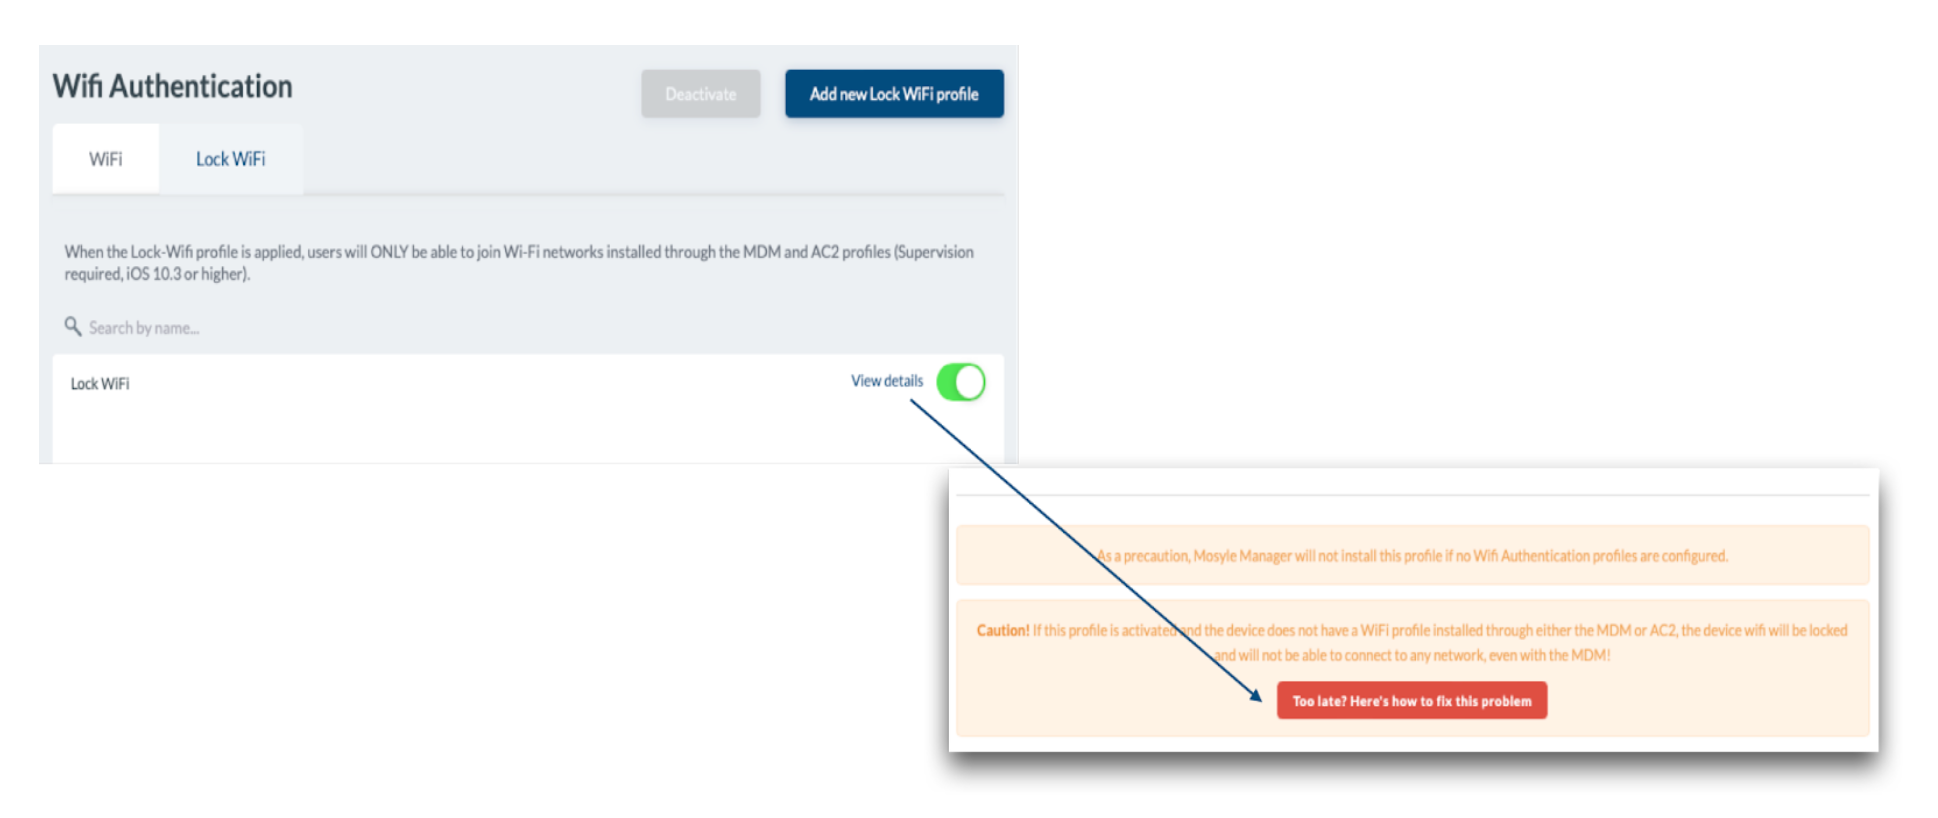
Lock WiFi (iOS/iPadOS)
The Lock WiFi configures iOS and iPadOS devices to only connect to managed networks that have been configured on devices using a WiFi Authentication profile.
To create a Lock WiFi profile, go to Management > WiFi Authentication > Click the Lock WiFi tab. Name the profile and choose an Application time.
Mosyle automatically installs a backup WiFi Authentication profile on enrolled devices so that in the event a Lock WiFi configuration is applied, and the device is unable to join the managed network, a temporary SSID can be configured to allow the device to connect. To view the credentials for the backup WiFi Authentication profile, a Mosyle Administrator can click View Details for the profile then click the link “Too late? Here's how to fix this problem”.
Multi-Cert Profile
The Multi-Cert Profile configures network settings that use certificates to authenticate to the network by combining related WiFi, VPN, SCEP, or AD Certificate payloads. It supports installations at the system scope and the user scope. If user scope is chosen, please assign only users to the profile.
To create a Multi-Cert Profile:
- Click on Management > Multi-Cert Profile
- Click “Add New Profile”
- Name the profile and click + Add Profile
- Click the payload
- Configure as needed and Save
- Save
- Assign the profile to users/devices
- Save
The WiFi Authentication profile and Multi-Cert profiles will be reinstalled each time they are saved. To avoid this behavior, it's recommended to select 'Do not reinstall the profile during assignment/login'.
No comments to display
No comments to display