Snap Layouts (screenshot)
Here is a cool feature that is new in Windows 11 that everyone now has on their desktop. It's for snap layouts. It's convenient because you can save the layout you want for certain classes or work and not have to redo it every time.
Snap Layouts
If you’re the kind of person who likes their apps arranged on the desktop just so, you’ll likely be interested in Snap Layouts. With it, you group your open windows into one of a half-dozen pre-built screen layouts, such as having two apps side by side, each taking up half the screen. Or you might have one app on the left and two stacked vertically on the right, or four apps in a grid. The hope is that you’ll be able to find the layout that fits the way you work.
To use Snap Layouts, open the applications you want to be in it, then hover your mouse over an application’s maximize icon on the upper right of the screen, located between the minimize and close icons. Choose the layout you want and which position you want the application to be in, and the app window snaps into that position. Then you can choose from your other open apps to fill in the rest of the spots in the layout.
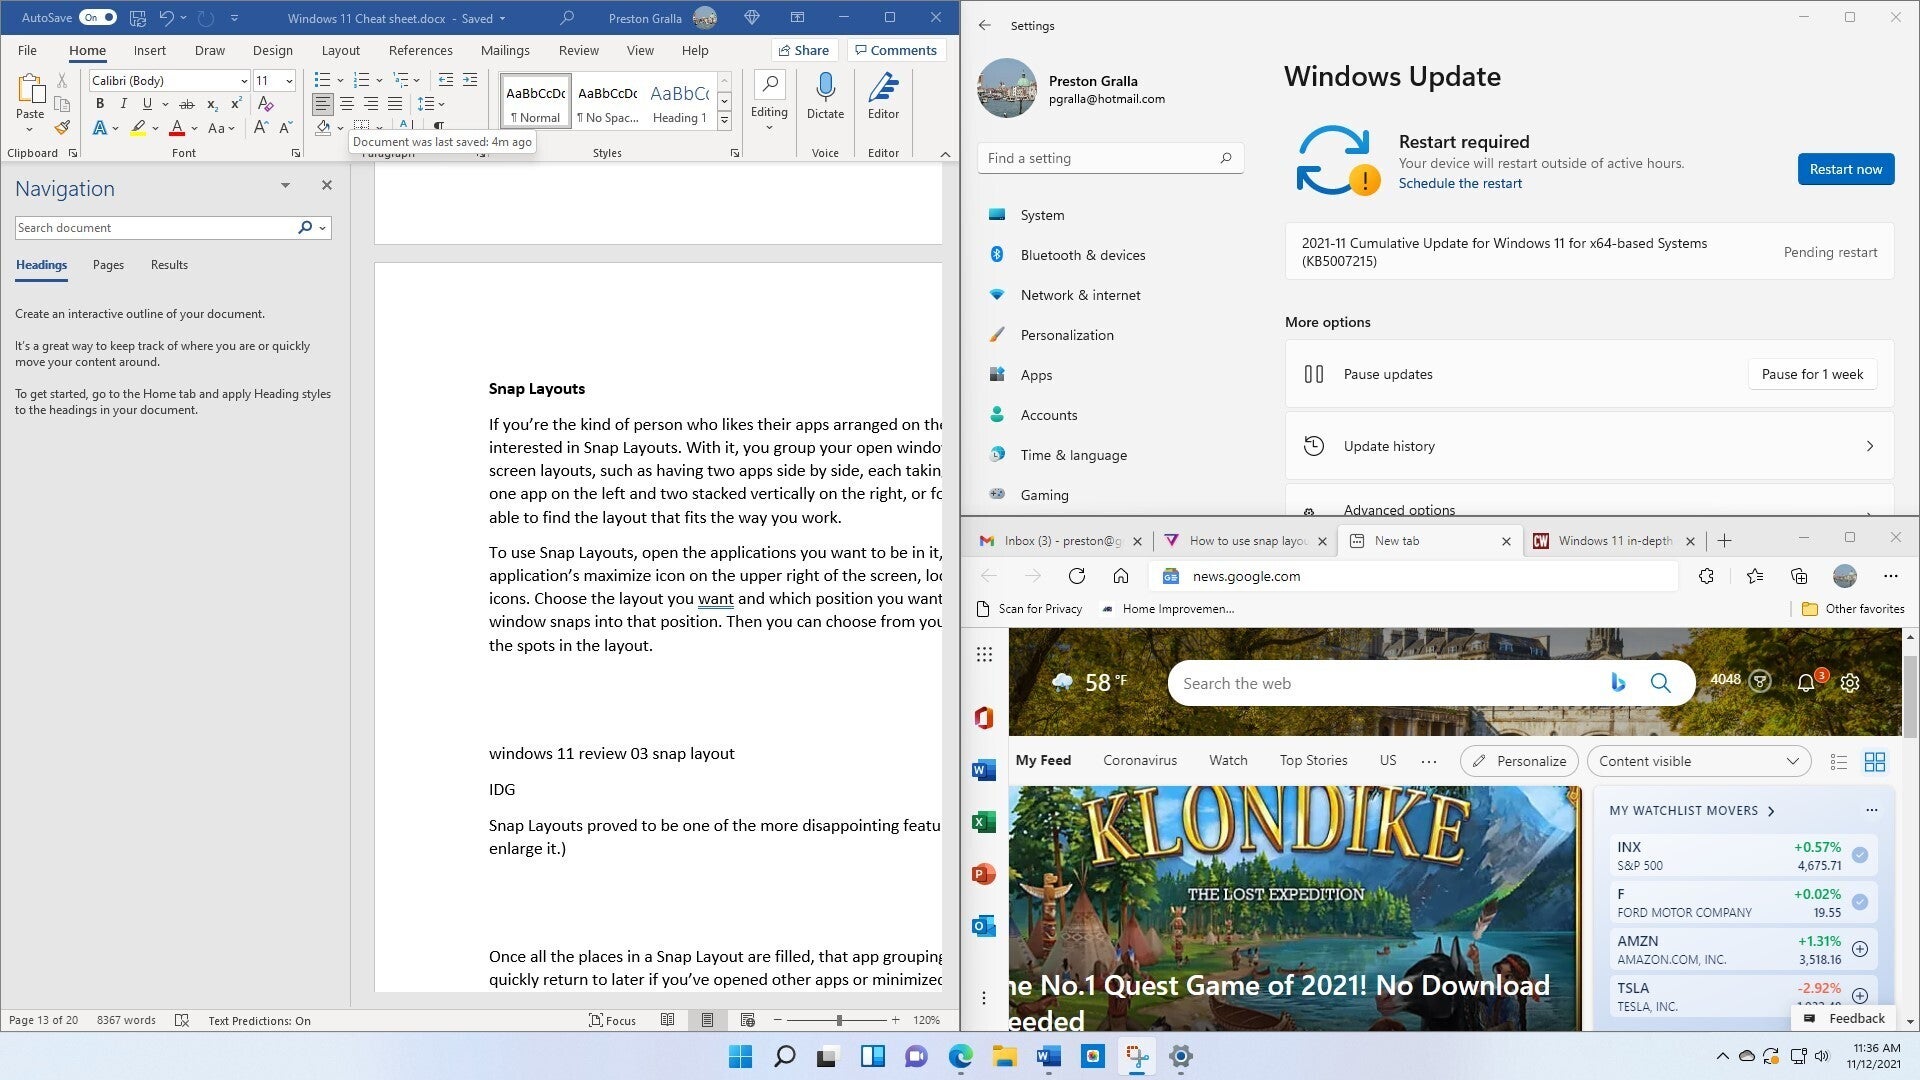
A Snap Layout in action. (Click image to enlarge it.)
Once all the places in a Snap Layout are filled, that app grouping is saved as a Snap Group that you can quickly return to later if you’ve opened other apps or minimized any of the app windows in the group. Hover your mouse over the taskbar icon of any of the applications in a Snap Group, and you’ll see two small popups — one that’s a thumbnail of what’s open in the application itself, and another that shows the Snap Group. Choose the Snap Group icon, and you’ll switch to the whole group in the layout you set up previously, rather than to the individual application.
No comments to display
No comments to display