Basic installation
This chapter provides an overview of how to install Ubuntu Server Edition. You can also refer to this guide on how to operate the installer for more information on using the installer, and to this screen-by-screen reference guide for more information about each of the installer screens.
Preparing to install
This section explains various aspects to consider before starting the installation.
System requirements
Ubuntu Server Edition provides a common, minimalist base for a variety of server applications, such as file/print services, web hosting, email hosting, etc. This version supports four 64-bit architectures:
- amd64 (Intel/AMD 64-bit)
- arm64 (64-bit ARM)
- ppc64el (POWER8 and POWER9)
- s390x (IBM Z and LinuxONE)
The recommended system requirements are:
- CPU: 1 gigahertz or better
- RAM: 1 gigabyte or more
- Disk: a minimum of 2.5 gigabytes
Perform a system back up
Before installing Ubuntu Server Edition you should make sure all data on the system is backed up.
If this is not the first time an operating system has been installed on your computer, it is likely you will need to re-partition your disk to make room for Ubuntu.
Any time you partition your disk, you should be prepared to lose everything on the disk should you make a mistake or something goes wrong during partitioning. The programs used in installation are quite reliable, most have seen years of use, but they also perform destructive actions.
Download the server ISO
You can obtain the amd64 server download from https://releases.ubuntu.com/. Select the version you wish to install and select the “server install image” download. Note that the server download includes the installer.
There are platform specific how-to guides for installations on:
Create a bootable USB
There are many ways to boot the installer but the simplest and most common way is to create a bootable USB stick to boot the system to be installed with (tutorials for other operating systems are also available).
Boot the installer
Plug the USB stick into the system to be installed and start it.
Most computers will automatically boot from USB or DVD, though in some cases this is disabled to improve boot times. If you don’t see the boot message and the “Welcome” screen which should appear after it, you will need to set your computer to boot from the install media.
There should be an on-screen message when the computer starts telling you what key to press for settings or a boot menu. Depending on the manufacturer, this could be Escape, F2, F10 or F12. Simply restart your computer and hold down this key until the boot menu appears, then select the drive with the Ubuntu install media.
If you are still having problems, check out the Ubuntu Community documentation on booting from
CD/DVD.
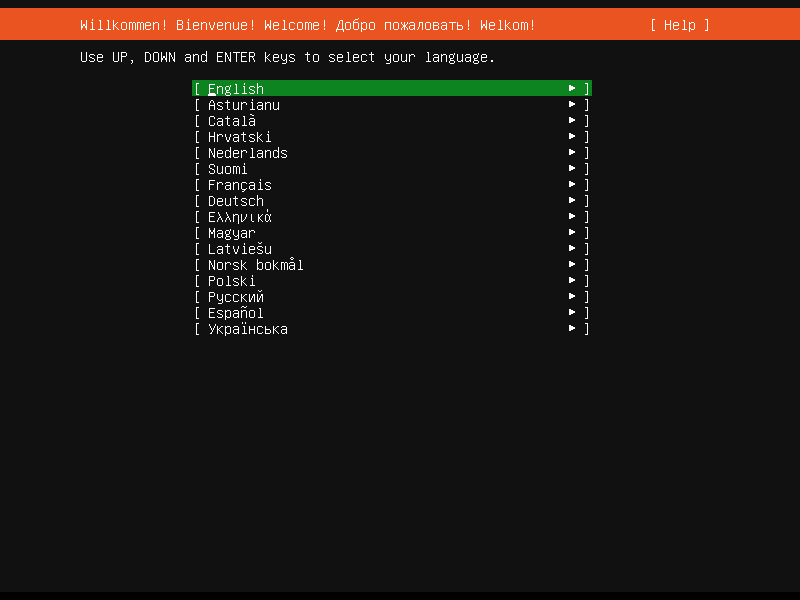
After a few moments, the installer will start in its language selection screen.
Using the installer
The installer is designed to be easy to use and have sensible defaults so for a first install you can mostly just accept the defaults for the most straightforward install:
- Choose your language
- Update the installer (if offered)
- Select your keyboard layout
- Do not configure networking (the installer attempts to configure wired network interfaces via DHCP, but you can continue without networking if this fails)
- Do not configure a proxy or custom mirror unless you have to in your network
- For storage, leave “use an entire disk” checked, and choose a disk to install to, then select “Done” on the configuration screen and confirm the install
- Enter a username, hostname and password
- On the SSH and snap screens, select “Done”
- You will now see log messages as the install is completed
- Select restart when this is complete, and log in using the username and password provided