Detection & Removal
Overview
Detection & Removal is a client based solution that leverages Apple's Endpoint Security Framework to constantly monitor a set of different events that could potentially represent the introduction of a new malware on a macOS device. Once these events are identified, they are scanned against a multi-source signature database that combines the local XProtect Yara rules present on each device, a database of different well-known macOS malware and a proprietary database created and maintained by our Security Research team. When Detection and Removal is assigned to devices, the MosyleSecurity agent will automatically be installed.
Scans are typically done using an On-access strategy, which means that events immediately trigger scans as they happen for real-time protection, such as when a new file is downloaded from the internet or email. A weekly full-scan is also available in order to allow recently introduced definitions to be used to scan the system regardless of the occurrence of triggering events. All the routines are performed locally for privacy protection and no file is synced with Mosyle servers.
Click the Security tab and expand the Detection & Removal 2 menu option in the left menu bar. Detection & Removal is organized into four sections:
- Overview
- Devices
- Quarantine
- Settings
- Logs
Detection & Removal 2 is supported on macOS 10.15 and later.
Overview
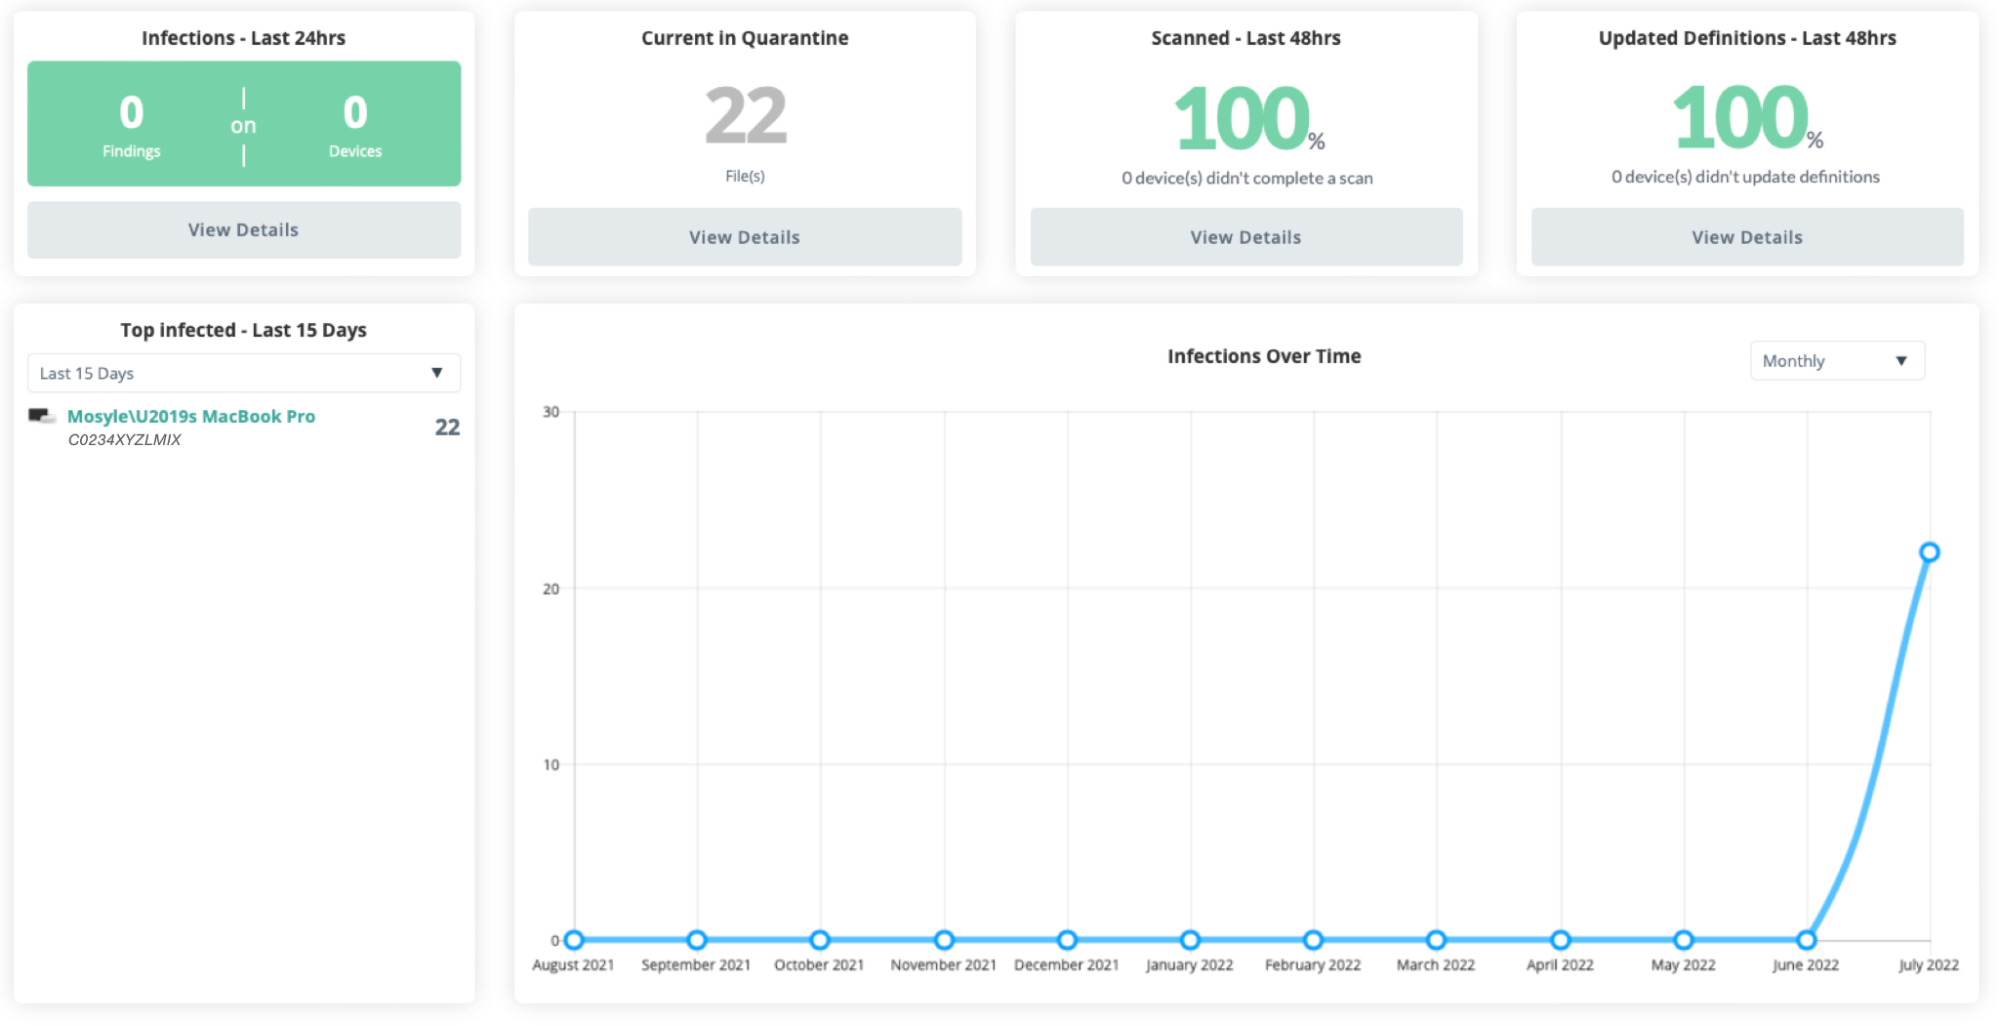
The Overview pane provides a quick summarized view of your device status. You can view the following in this area:
- Infections - Last 24 hours: Lists the number of findings on devices over the past 24 hours. Click View Details to check out the Logs.
- Current in Quarantine: Lists the number of files currently in quarantine. Click View Details to check out the files.
- Scanned - Last 48 hours: Percentage of devices that have been scanned in the past 48 hours. Click View Details to check the list of devices to see which devices haven't recently been scanned.
- Updated Definitions - Last 48 hours: Percent of devices that have updated definitions in the past 48 hours. Click View Details to check the list of devices to see which devices haven't recently updated definitions.
- Top Infected - Last X days: Use the dropdown menu to view the list of top infected devices over the past 7, 15, or 30 days.
- Infections Over Time: View the number of infections found over a period of time for your school or district.
Devices
View a list of devices assigned to Detection & Removal and their corresponding scan status, date and type of last scan, last definition updates, and if there are any files in quarantine. Clicking a device serial number will open the device info window.
The device status is determined based on the last scan. If the last scan was “Healthy” it shows “Healthy”. If the last scan detected any infected files (whether or not they were automatically removed), it shows the device “Infected”. If infected files are removed after the last scan, run the scan again to update the status. A status of “Not defined” indicates a scan hasn't run yet.
Different scan types available:
- On Access: Scans any new files downloaded. If a known infected file or malware is detected, the user is notified and it is registered in the Mosyle web console immediately.
- Full: Scans all files on the device. Choose when the full scan will run and what to do with detected files in the Settings tab.

Filter the list of devices by: serial number, device name, asset tag, deviceUDID, Wifi MAC Address, Ethernet MAC Address, local hostname, hostname, current console user, last SSID, user logged in, and more.
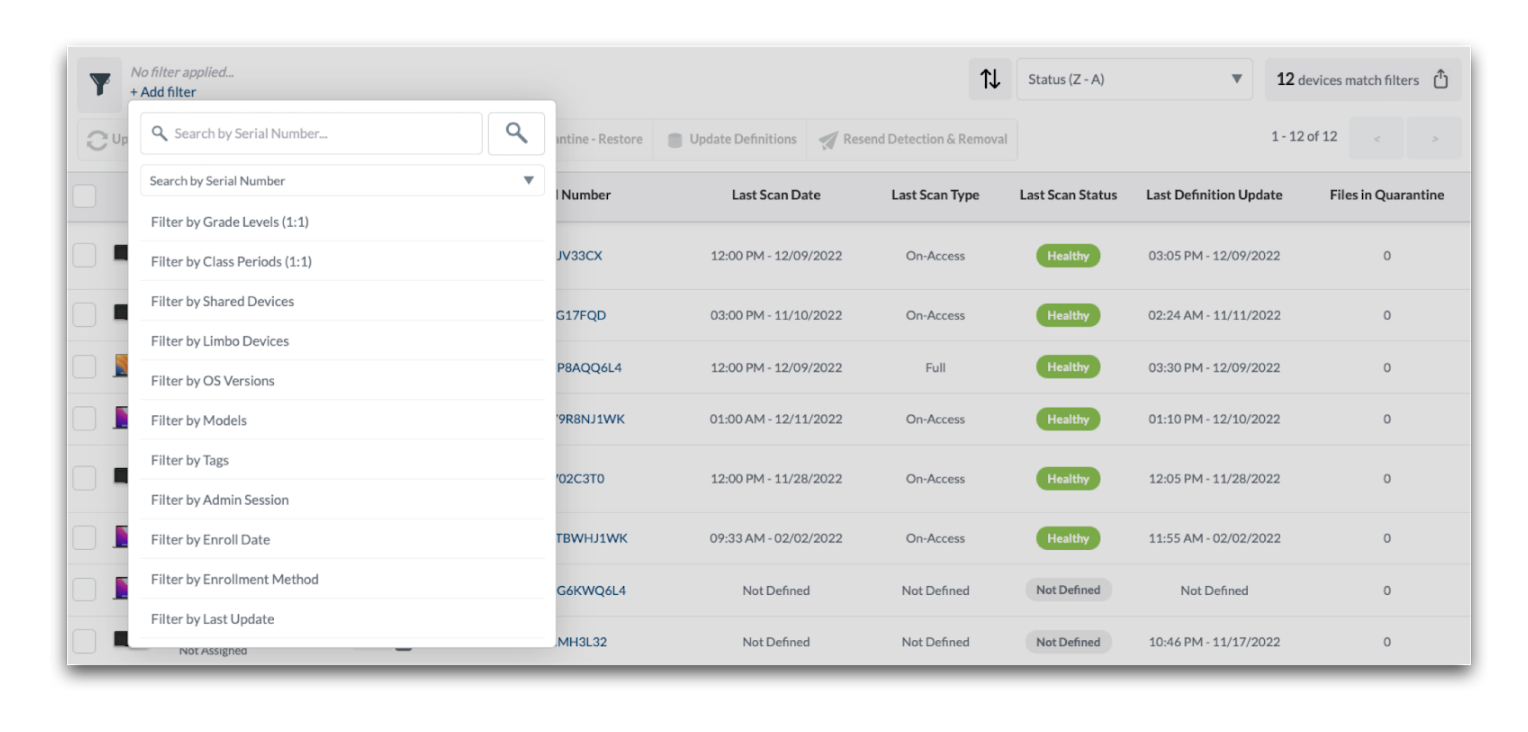
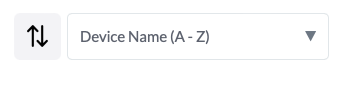
Sort the list of devices by the device name, files in quarantine, last definition update, last scan date, last scan type, serial number, status, tags, or compliance percentage.
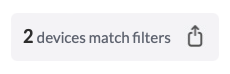
After filtering and sorting devices as needed, export a spreadsheet of the devices and scanned status by clicking the button in the upper right corner that indicates X devices match filters. The spreadsheet will include all information found in the interface.
Quarantine
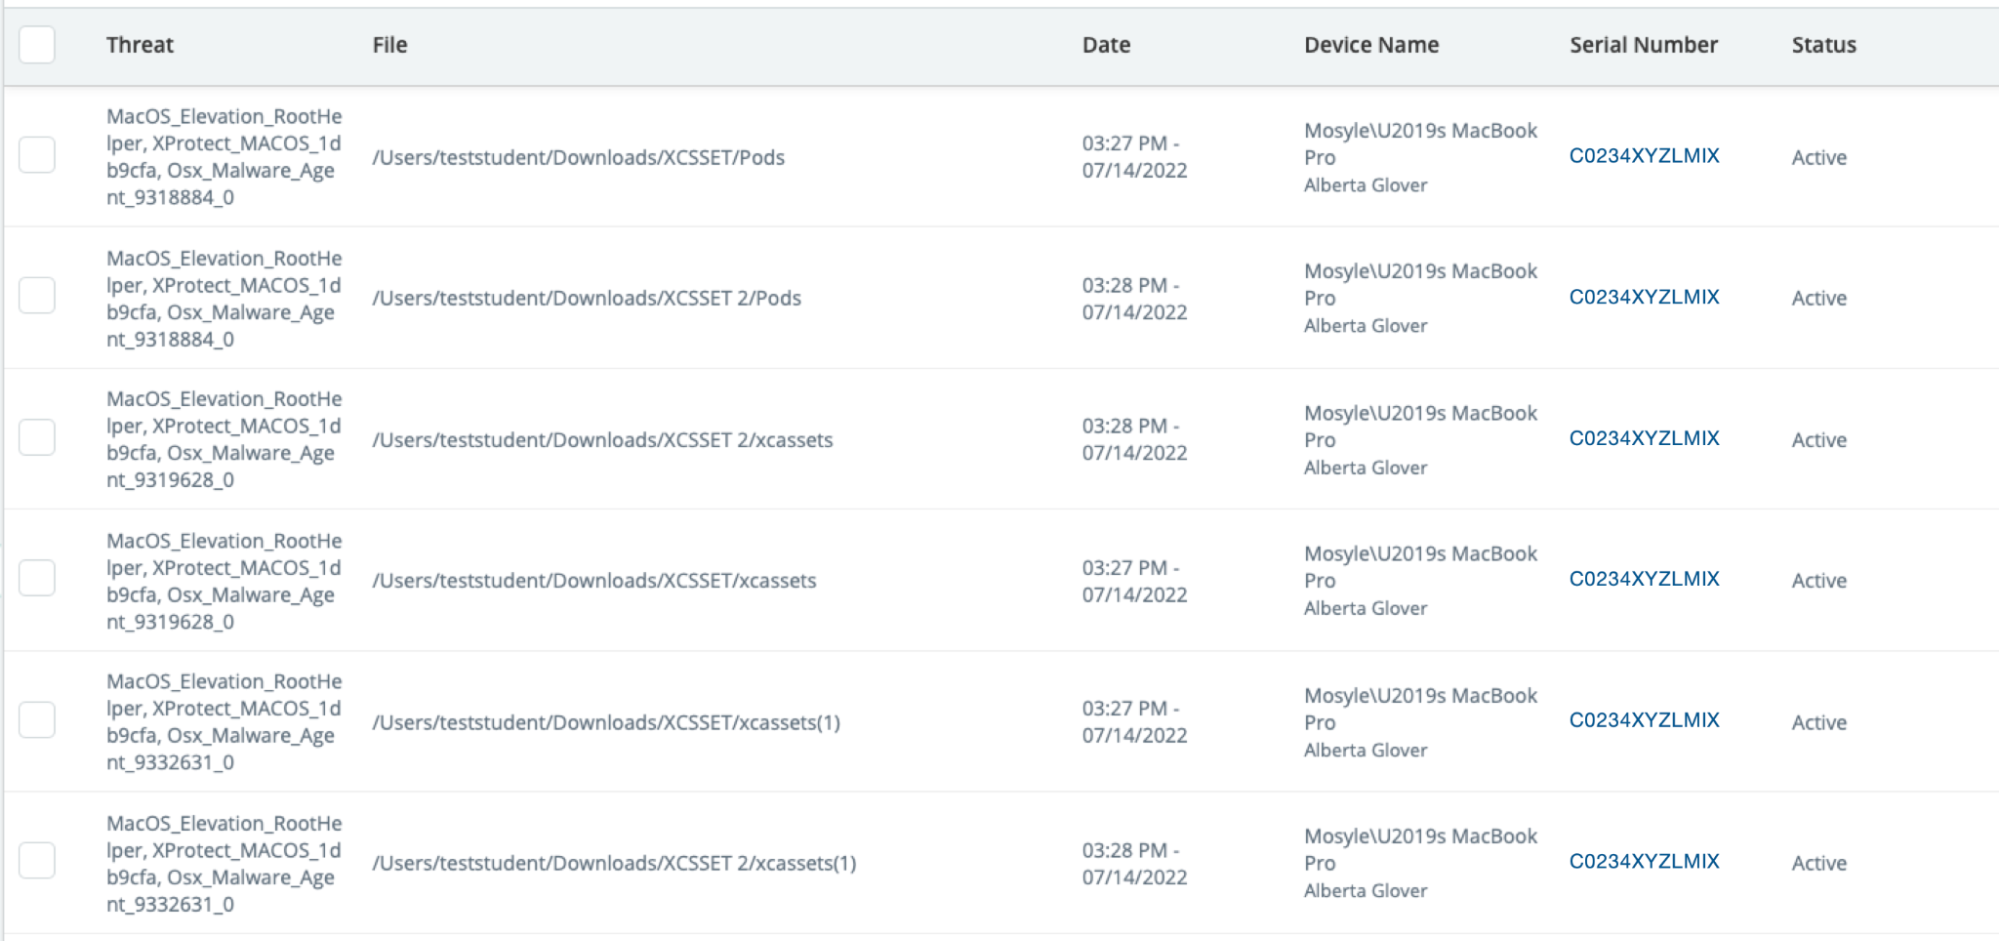
View the list of files in quarantine, including the type of threat, file path, and date and time the file was quarantined. The device name and serial number is also listed. Click the serial number to view the Device Info window.
If needed, quarantine files can be deleted from this area or restored. If a file from quarantine is restored on a device, the file will no longer be flagged as a threat on that particular device.
Sort and filter data to view specific information. Export data as needed with the export option.
Settings
Configure the Detection & Removal settings, including the time and day of the weekly full scan, if device-based AI and behavior detection should be used, behavior for quarantined files, any manual definitions to be included, alerts, file bypass and mute paths.
Logs
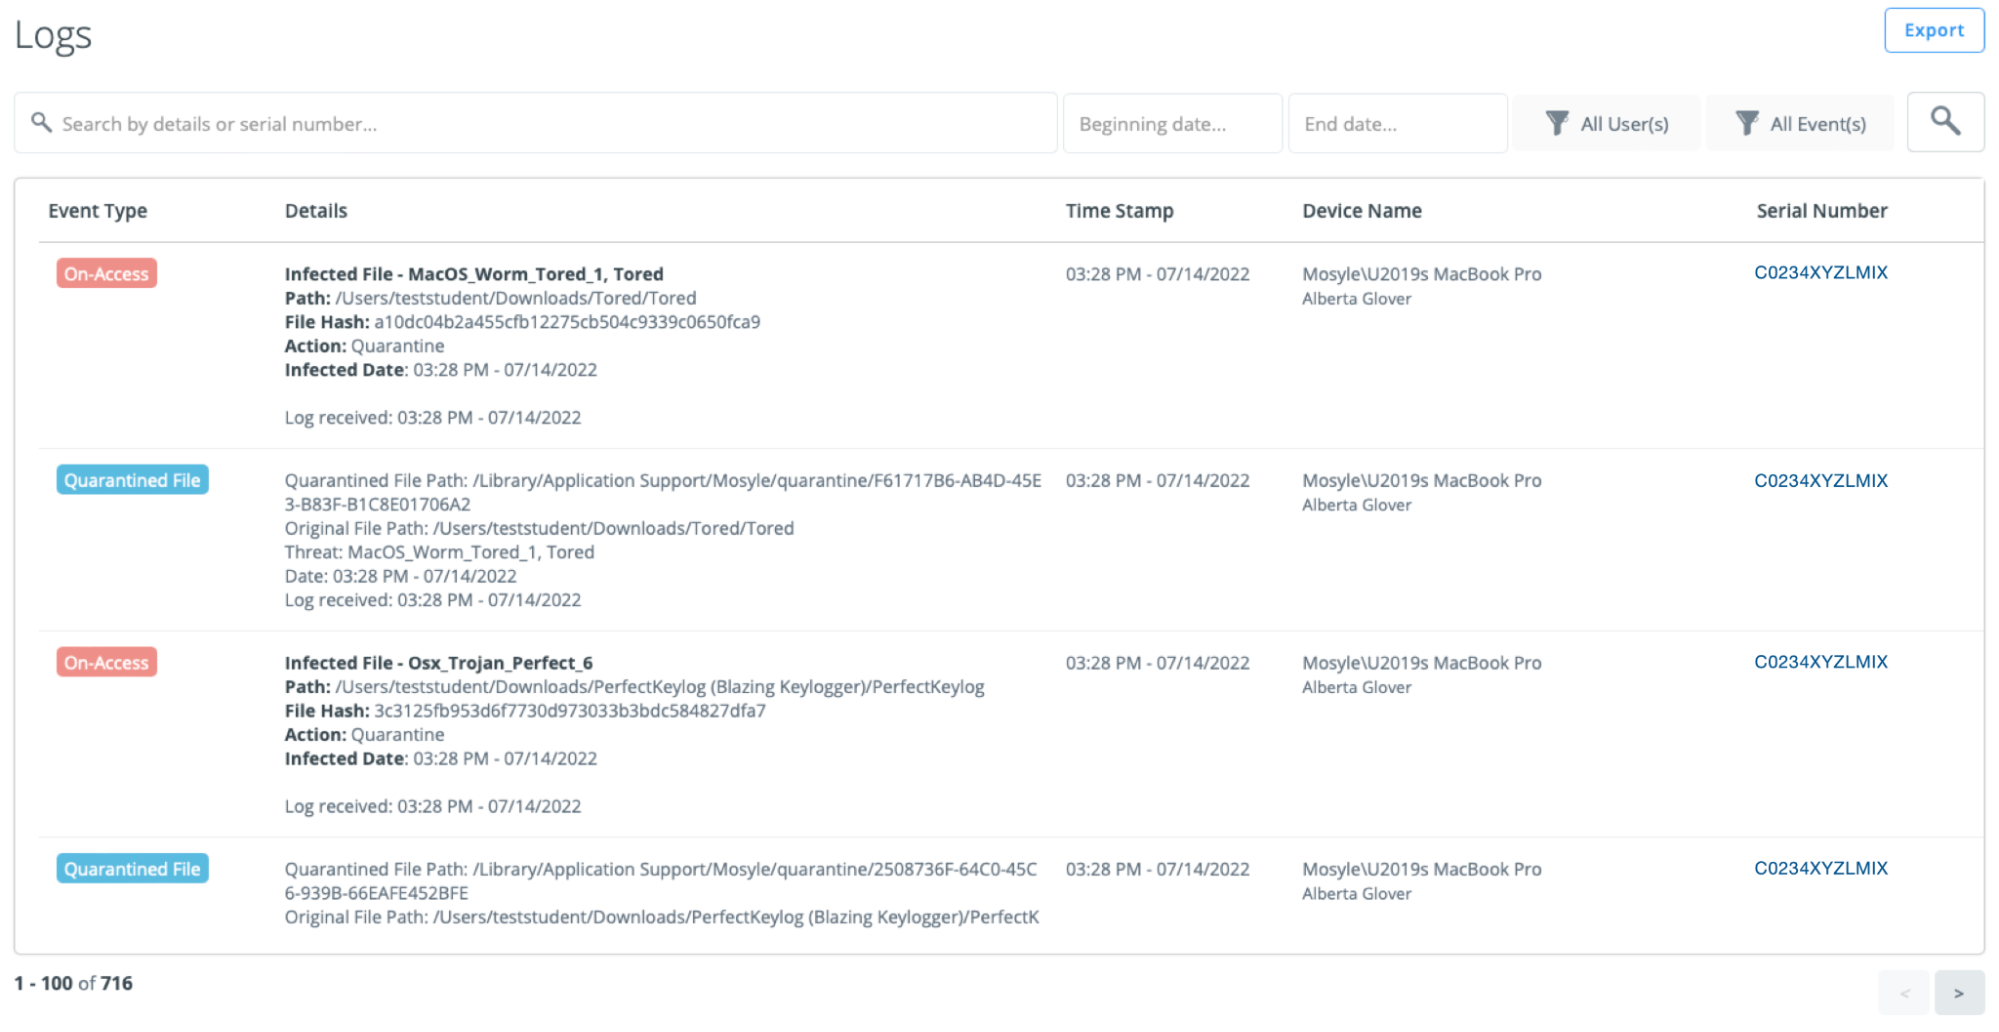
View logs to see detailed info for when a device was scanned and if any infected files or threats were found. In addition to the scanned status, the event type, details regarding the file, date/time stamp, device name and serial number are listed. To export the logs, click “Export” in the upper right corner.
Configuring Detection & Removal
To configure Detection and Removal go to Security > Detection & Removal 2 > Settings > Add new profile.
Enter the name of the profile and configure the following tabs:
-
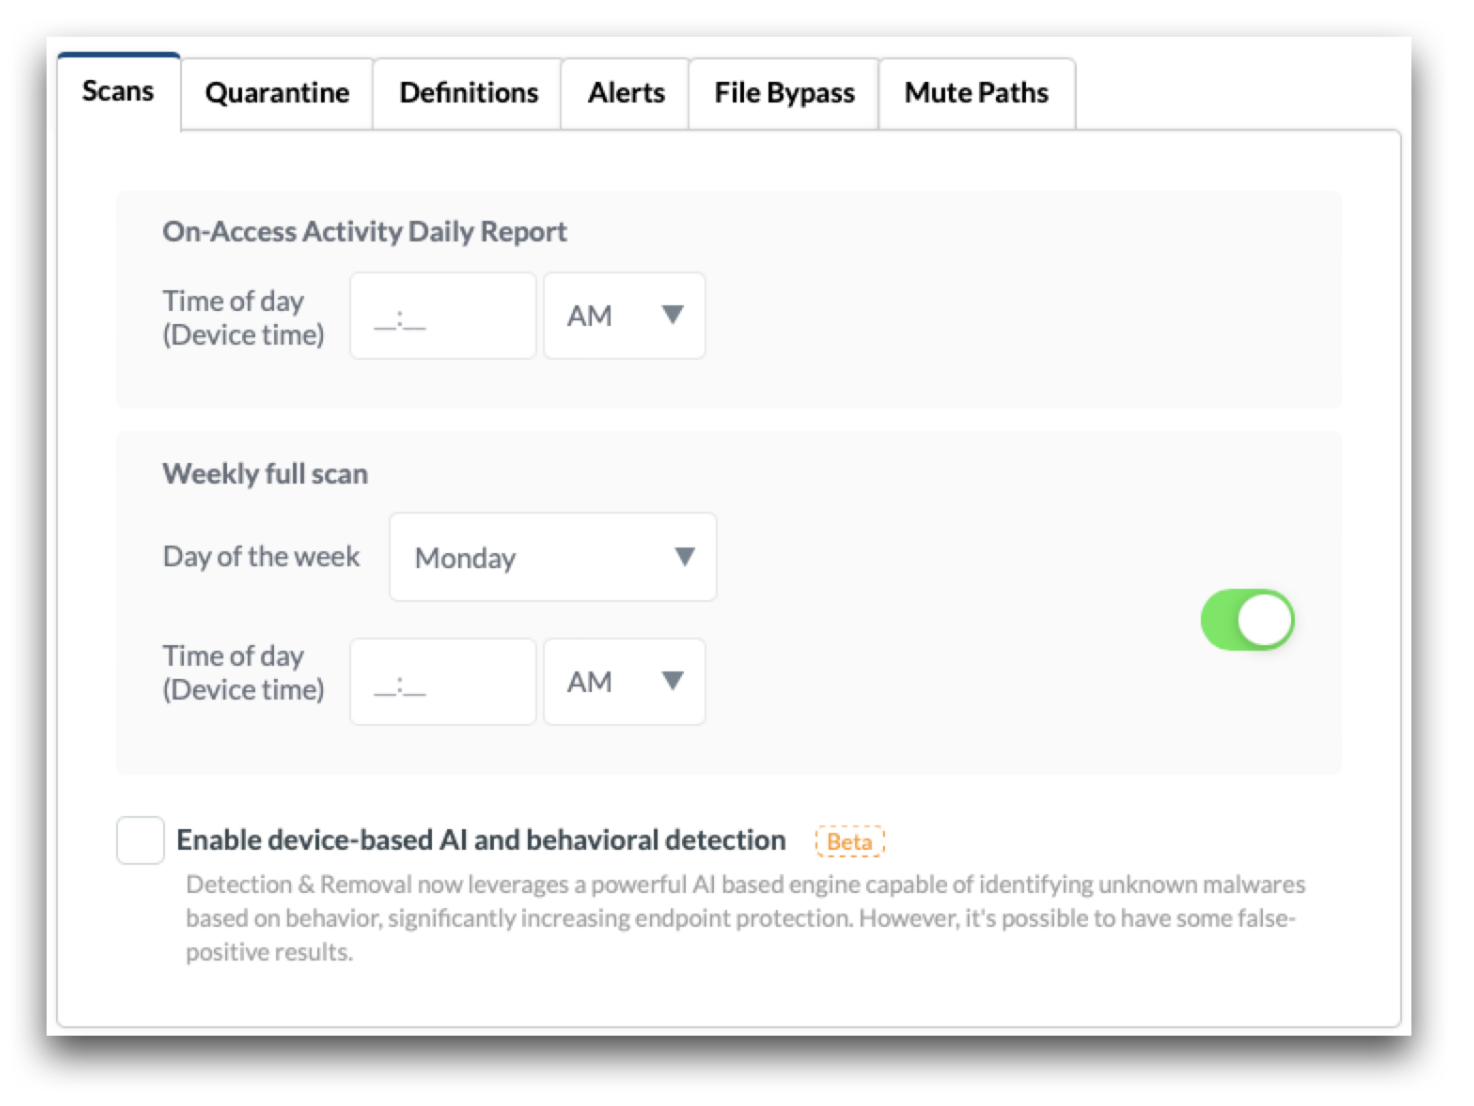
Scans
- On-Access Activity Daily Report: Enter the time of day to receive the daily on-access report. The report will show in the logs and will provide the infection status in the Devices list.
- Weekly full scan: Toggle on the weekly full scan to trigger a full scan on a weekly basis at the designated time.
- Enable device-based AI and behavioral detection: Check the box to enable AI based detection of unknown malwares based on behavior.
-
Quarantine
- Define the standard behavior for known malware infections: Choose the action to be taken with identified threats on the Mac. If the file is not deleted immediately, it can be found by clicking Quarantine in the menu bar.
- Define the standard behavior for AI Flagged Files: Choose the action to be taken with identified threats on the Mac. If the file is not deleted immediately, it can be found by clicking Quarantine in the menu bar.
- Definitions
- Enter any additional malware definitions to be scanned. The added definitions allow Administrators to include their own hashes for any files to be blocked from end users, in addition to the definitions/files that Detection & Removal detects as a threat.
- When adding definitions, include the hash for the file (MD5, SHA1, or SHA256) in the specified format (HashString:*:MalwareName:73).
- For example: 71f6ac3385ce284152a64208521c592b:*:ThisIsATest:73
- Where 71f6ac3385ce284152a64208521c592b is the hash, "ThisIsATest" is the filename, with the default 73 at the end (version of engine). Mosyle's Detection & Removal will then quarantine any files found with that particular hash.
- Alerts
- Configure to receive alerts based on specific events: New infected devices or New AI flagged devices. Once the event type is selected, choose the frequency to receive the email alerts along with the Administrators to receive the emails.
- File Bypass
- Use the File Bypass to bypass a specific, trusted file from being flagged.
- Enter any known and trusted files to be bypassed and not flagged by Detection & Removal. When adding the files, enter the File Name and the Hash String in the format provided above.
- Mute Paths
- This is not to be used to exclude paths or files from being scanned. To exclude files from being scanned or flagged by Detection and Removal, use the File Bypass option. The use case for the Mute Paths is to ignore security events generated by the paths entered from being scanned.
- Enter any paths to be ignored by Detection & Removal. Any events occurring at the paths entered will not be scanned by the On Access scan or the Full Scan. Only enter paths that are absolutely trusted.
After configuring the options available for Detection & Removal, assign the profile to users and/or devices.
Mosyle will automatically install the Detection & Removal engine, along with any System Extensions and Privacy Preferences required.
What to Expect
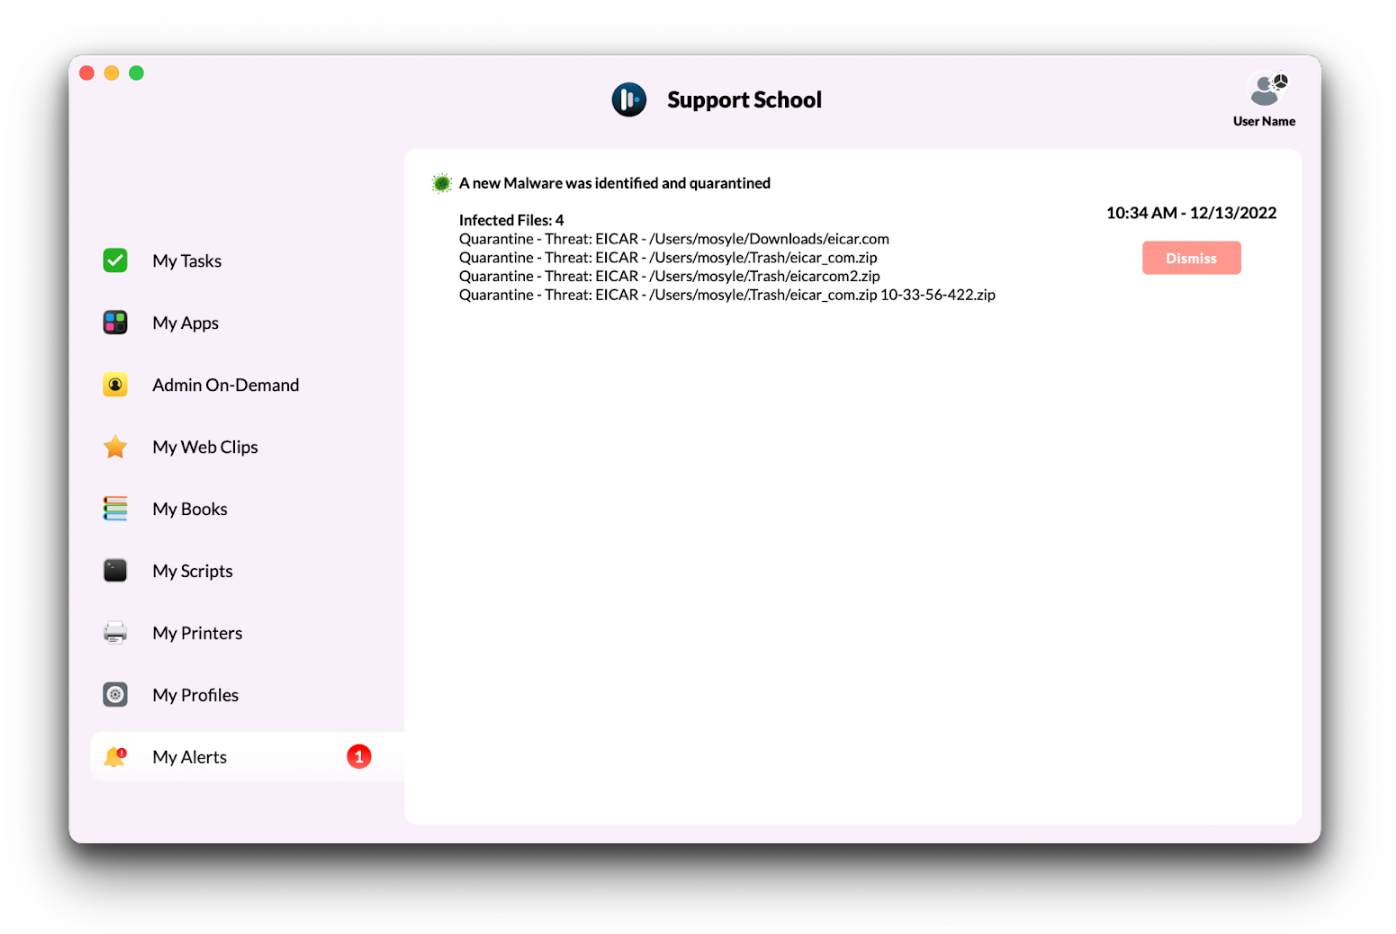
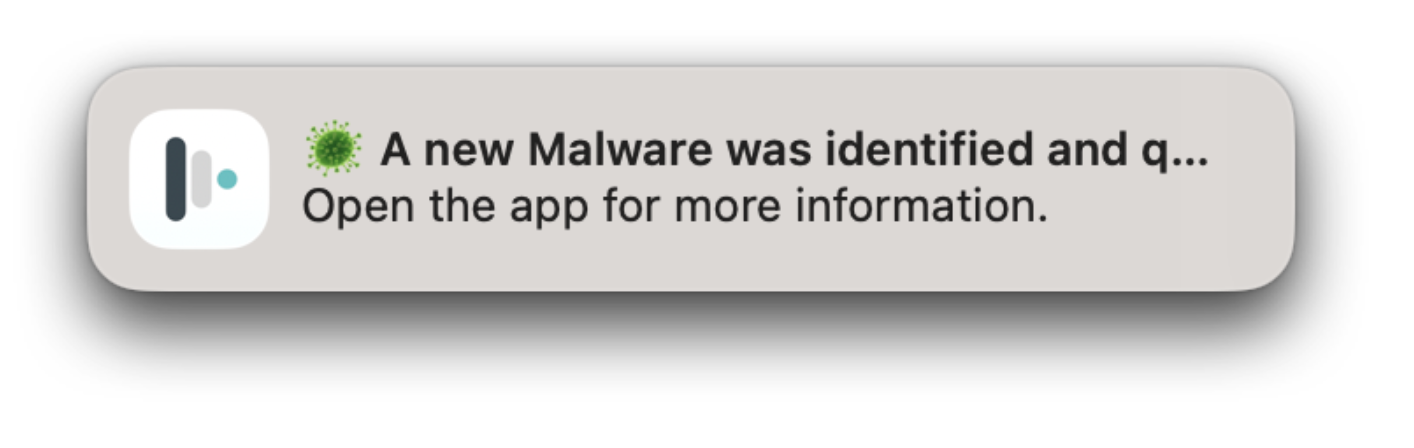
When an infection is detected, Administrators will see the infections in the Logs and in the device status view under Devices. End users will be alerted via a native macOS Notification as well as see an alert in the Manager application.
macOS Notification
Manager app